 william1024


学习Spring后没有怎么使用,最近因为一些需求,考虑使用Spring可能更为合适,准备把一个flask项目重构掉,一边复习一边使用吧,今天做一次简单的复习、总结。文章来源是对msb视频课程的提取。
关于IOC的定义什么的不作表述,总括就是处理对象怎么创建的。
其核心思想我理解就是java利用反射来创建对象,帮助开发者更灵活的使用对象
先看一下普通的获取对象的步骤
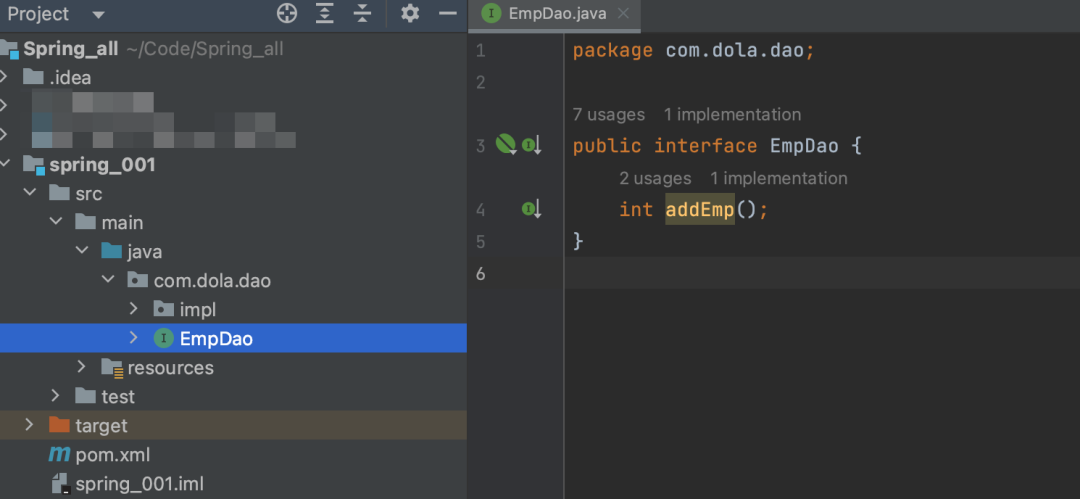
创建一个接口
        package com.dola.dao;


        public interface EmpDao {


            int addEmp();


        }
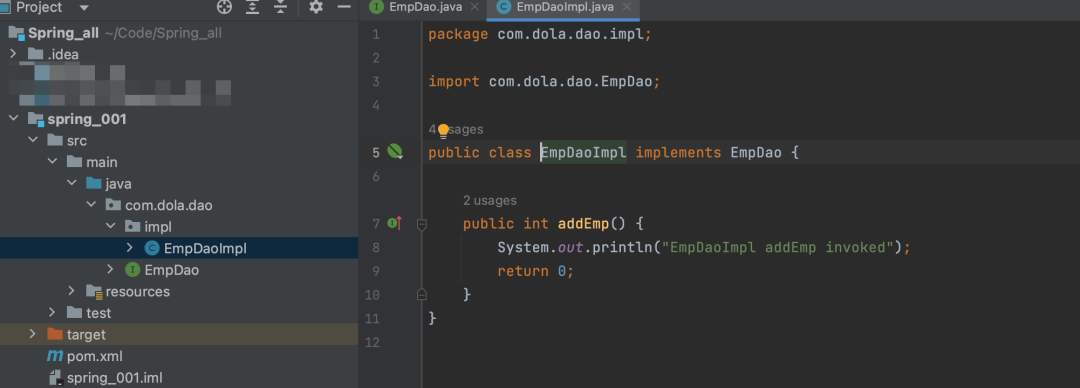
然后创建这个接口的实现类
        package com.dola.dao.impl;


        import com.dola.dao.EmpDao;


        public class EmpDaoImpl implements EmpDao {


            public int addEmp() {


                System.out.println("EmpDaoImpl addEmp invoked");


                return 0;


            }


        }
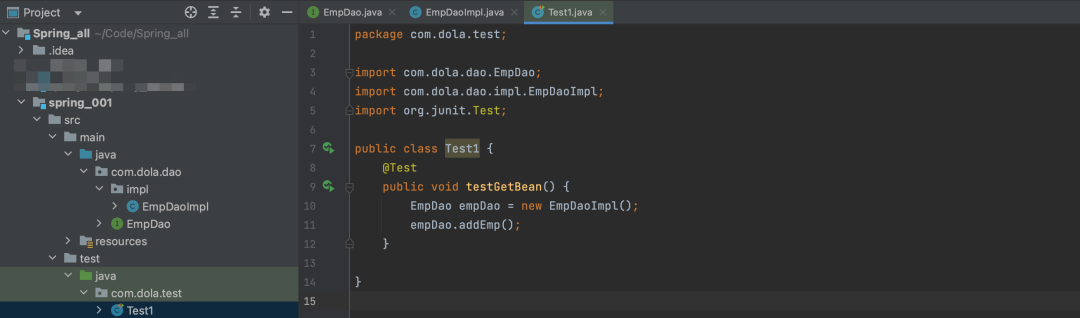
创建好后,来实例化个EmpDaoImpl对象
        package com.dola.test;


        import com.dola.dao.EmpDao;


        import com.dola.dao.impl.EmpDaoImpl;


        import org.junit.Test;


        public class Test1 {


            @Test


            public void testGetBean() {


                EmpDao empDao = new EmpDaoImpl();


                empDao.addEmp();


            }


        }
运行一下,就可以看到输出了
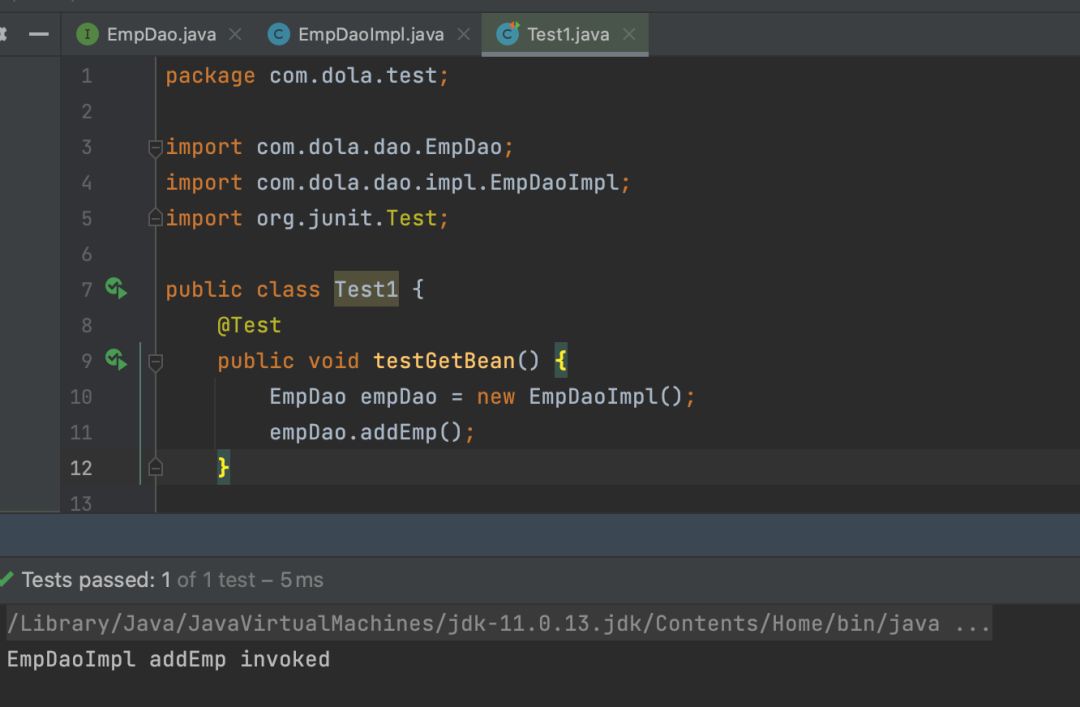
ok,这也就是平常来创建对象的简单概括了
那刚才在实现EmpDao的这个接口时候,需要进行一点变动,创建一个EmpDaoImpl2
        package com.dola.dao.impl;


        import com.dola.dao.EmpDao;


        public class EmpDaoImpl2 implements EmpDao {


            public int addEmp() {


                System.out.println("EmpDaoImpl addEmp invoked2");


                return 0;


            }


        }
怎来获取这个新的对象呢?
当然就得把代码中new的对象给切换一下
        package com.dola.test;


        import com.dola.dao.EmpDao;


        import com.dola.dao.impl.EmpDaoImpl;


        import com.dola.dao.impl.EmpDaoImpl2;


        import org.junit.Test;


        public class Test1 {


            @Test


            public void testGetBean() {


                EmpDao empDao = new EmpDaoImpl2();


                empDao.addEmp();


            }


        }
这样看起来是没有问题,把new后面的换一下就好了,很轻松呀,没什么问题,可是,如果有多个文件或者多处这样new了一下又一下,去改的时候真的还是蛮复杂的。。。
来体验一下IOC创建对象的过程吧
刚才创建好EmpDao的接口和EmpDaoImpl的实现类了,现在使用Spring的配置文件来生成一个容器,或者说创建一个map集合,内容里面装上实例化一个EmpDaoImp的对象
        <?xml version="1.0" encoding="UTF-8"?>


        <beans xmlns="http://www.springframework.org/schema/beans"


               xmlns:xsi="http://www.w3.org/2001/XMLSchema-instance"


               xsi:schemaLocation="http://www.springframework.org/schema/beans


               http://www.springframework.org/schema/beans/spring-beans.xsd">


            <bean id="empDao" class="com.dola.dao.impl.EmpDaoImpl"></bean>


        </beans>
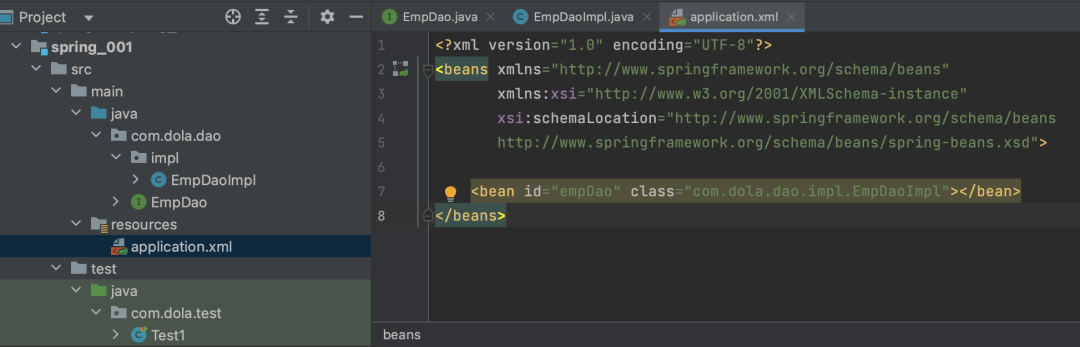
这个配置文件编辑好后,会生成一个map,键为empDao,键值为
com.dola.dao.impl.EmpDaoImpl
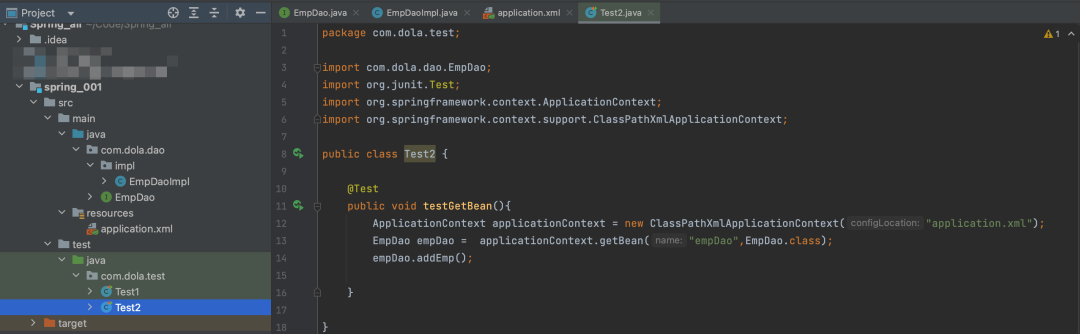
那么怎么不通过new的方式来获取这个对象呢,想一下,现在创建这个即容器了,对象就在这个容器里了,想获取对象不就是获取到这个容器,然后直接从容器里取不就好了么
        package com.dola.test;


        import com.dola.dao.EmpDao;


        import org.junit.Test;


        import org.springframework.context.ApplicationContext;


        import org.springframework.context.support.ClassPathXmlApplicationContext;


        public class Test2 {


            @Test


            public void testGetBean(){


                ApplicationContext applicationContext = new ClassPathXmlApplicationContext("application.xml");


                EmpDao empDao =  applicationContext.getBean("empDao",EmpDao.class);


                empDao.addEmp();


            }


        }
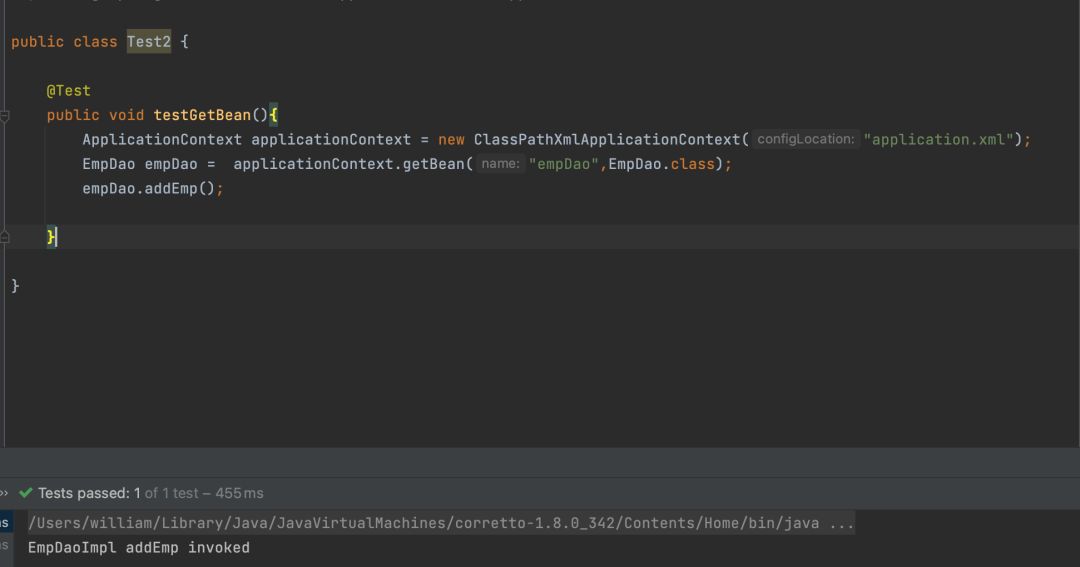
运行一下,自然也能正常得到结果
再回到刚才那个问题里去,在使用IOC时候怎么来改变获取的对象呢?这个时候就太简单啦,只需要把这个容器指向的对象的路径给改一下就可以了
        <?xml version="1.0" encoding="UTF-8"?>


        <beans xmlns="http://www.springframework.org/schema/beans"


               xmlns:xsi="http://www.w3.org/2001/XMLSchema-instance"


               xsi:schemaLocation="http://www.springframework.org/schema/beans


               http://www.springframework.org/schema/beans/spring-beans.xsd">


            <bean id="empDao" class="com.dola.dao.impl.EmpDaoImpl2"></bean>


        </beans>
修改完之后,甚至都不需要重新编译,这个empDao指向的对象就都是EmpDaoImpl2的对象了,回味一下,真的是清爽很多。
简单说一下这个原理:
ApplicationContext applicationContext = new ClassPathXmlApplicationContext("application.xml");
这行代码通过读取配置文件创建了一个容器,然后通过
<bean id="empDao" class="com.dola.dao.impl.EmpDaoImpl2"></bean>
这行代码中的类的全路径通过反射创建了一个对象放进了容器(一个map集合),并且给他取了个名字叫empDao(键)
最后通过工厂模式的getBean方法获取到对象
哦对了,什么是Bean,就直接理解为对象吧(也就是对象)
对象的创建也就上面说的了,那对象创建好了,怎么赋值?那就是和IOC总是一块出现的DI了,关于DI,总括就是处理对象的属性赋值和相互依赖关系
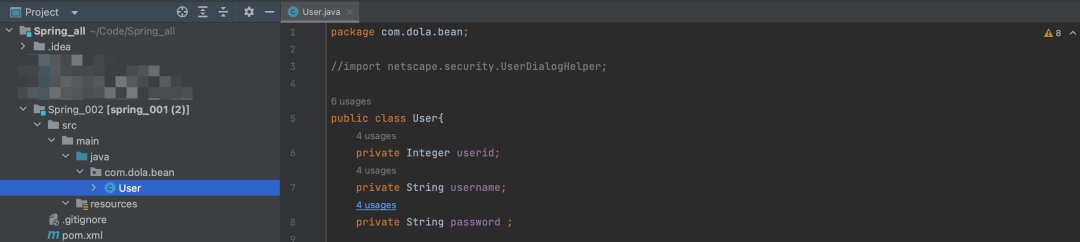
创建一个类
        package com.dola.bean;


          //import netscape.security.UserDialogHelper;


        public class User{


            private Integer userid;


            private String username;


            private String password ;


            public User() {


                System.out.println("无参构造方法");


            }


            public User(Integer userid, String username, String password) {


                System.out.println("全参构造方法");


                this.userid = userid;


                this.username = username;


                this.password = password;


            }


            public void setUserid(Integer userid) {


                this.userid = userid;


            }


            public void setUsername(String username) {


                this.username = username;


            }


            public void setPassword(String password) {


                this.password = password;


            }


            public Integer getUserid() {


                return userid;


            }


            public String getUsername() {


                return username;


            }


            public String getPassword() {


                return password;


            }


            @Override


            public String toString() {


                return "User{" +


                        "userid=" + userid +


                        ", username='" + username + '\'' +


                        ", password='" + password + '\'' +


                        '}';


            }


        }
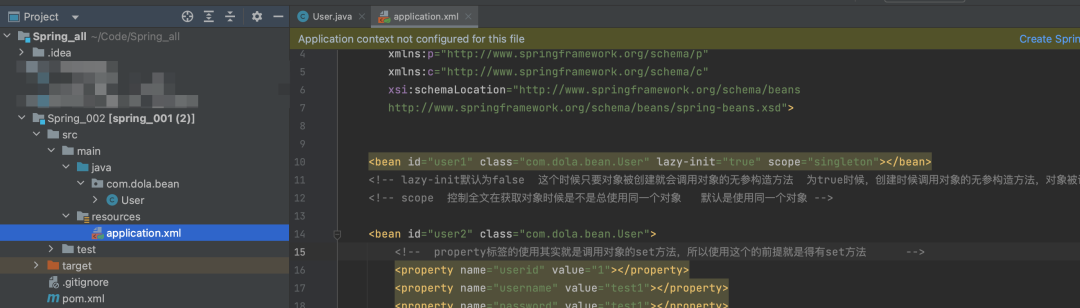
然后去编辑配置文件,来创建用来装被赋值的对象的那个容器
        <?xml version="1.0" encoding="UTF-8"?>


        <beans xmlns="http://www.springframework.org/schema/beans"


               xmlns:xsi="http://www.w3.org/2001/XMLSchema-instance"


               xmlns:p="http://www.springframework.org/schema/p"


               xmlns:c="http://www.springframework.org/schema/c"


               xsi:schemaLocation="http://www.springframework.org/schema/beans


               http://www.springframework.org/schema/beans/spring-beans.xsd">


            <bean id="user1" class="com.dola.bean.User" lazy-init="true" scope="singleton"></bean>


            <!-- lazy-init默认为false  这个时候只要对象被创建就会调用对象的无参构造方法  为true时候,创建时候调用对象的无参构造方法,对象被调用时候才执行对象的无参构造方法 -->


            <!-- scope  控制全文在获取对象时候是不是总使用同一个对象   默认是使用同一个对象 -->


            <bean id="user2" class="com.dola.bean.User">


                <!--  property标签的使用其实就是调用对象的set方法,所以使用这个的前提就是得有set方法      -->


                <property name="userid" value="1"></property>


                <property name="username" value="test1"></property>


                <property name="password" value="test1"></property>


            </bean>


            <bean id="user3" class="com.dola.bean.User">


                <!-- constructor-arg标签的使用其实就是调用对象的有全参构造方法 -->


                <constructor-arg name="userid" value="2"></constructor-arg>


                <constructor-arg name="username" value="test2"></constructor-arg>


                <constructor-arg name="password" value="test2"></constructor-arg>


            </bean>


            <!--    可以对上面两种赋值操作进行简化,也就是p命名空间和c命名空间,使用前需要在最上面添加两条约束-->


            <!--    xmlns:p="http://www.springframework.org/schema/p"


                    xmlns:c="http://www.springframework.org/schema/c"


             -->


            <bean id="user4" class="com.dola.bean.User" p:userid="4" p:username="test4" p:password="test4"></bean>


            <bean id="user5" class="com.dola.bean.User" c:userid="5" c:username="test5" c:password="test5"></bean>


        </beans>
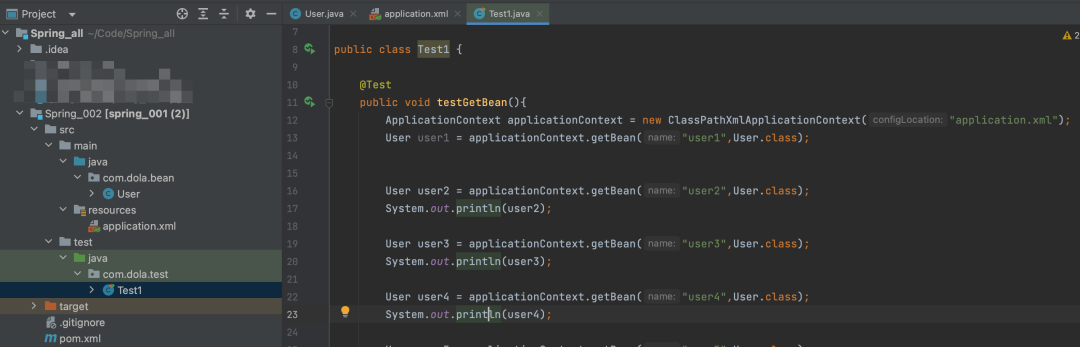
有了这么些个对象,使用一下看看吧
        package com.dola.test;


        import com.dola.bean.User;


        import org.junit.Test;


        import org.springframework.context.ApplicationContext;


        import org.springframework.context.support.ClassPathXmlApplicationContext;


        public class Test1 {


            @Test


            public void testGetBean(){


                ApplicationContext applicationContext = new ClassPathXmlApplicationContext("application.xml");


                User user1 = applicationContext.getBean("user1",User.class);


                User user2 = applicationContext.getBean("user2",User.class);


                System.out.println(user2);


                User user3 = applicationContext.getBean("user3",User.class);


                System.out.println(user3);


                User user4 = applicationContext.getBean("user4",User.class);


                System.out.println(user4);


                User user5 = applicationContext.getBean("user5",User.class);


                System.out.println(user5);


            }


        }
再看一下对象的引入
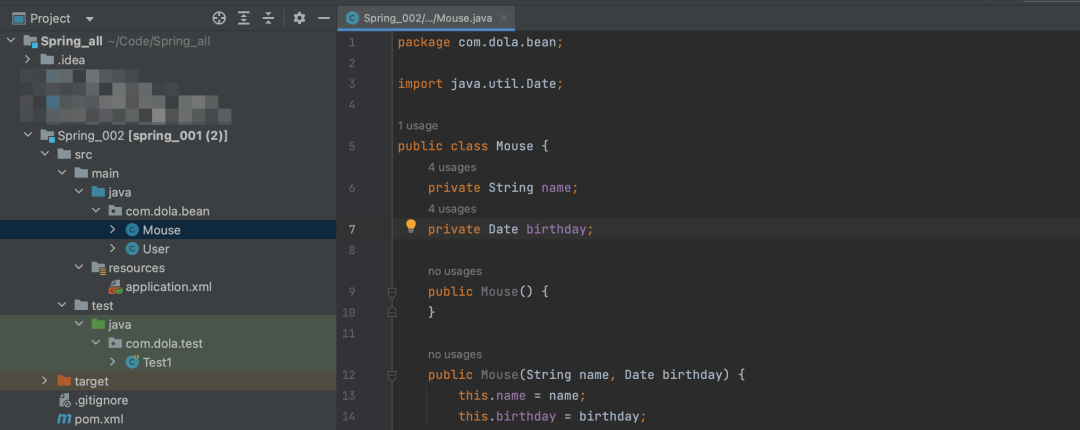
创建一个Mouse类
        package com.dola.bean;


        import java.util.Date;


        public class Mouse {


            private String name;


            private Date birthday;


            public Mouse() {


            }


            public Mouse(String name, Date birthday) {


                this.name = name;


                this.birthday = birthday;


            }


            public void setName(String name) {


                this.name = name;


            }


            public void setBirthday(Date birthday) {


                this.birthday = birthday;


            }


            public String getName() {


                return name;


            }


            public Date getBirthday() {


                return birthday;


            }


            @Override


            public String toString() {


                return "Mouse{" +


                        "name='" + name + '\'' +


                        ", birthday=" + birthday +


                        '}';


            }


        }
然后去编辑配置文件来创建对象(Data 不是一个基本数据类型,使用的时候需实例化一个对象才能使用)
        <?xml version="1.0" encoding="UTF-8"?>


        <beans xmlns="http://www.springframework.org/schema/beans"


               xmlns:xsi="http://www.w3.org/2001/XMLSchema-instance"


               xmlns:p="http://www.springframework.org/schema/p"


               xmlns:c="http://www.springframework.org/schema/c"


               xsi:schemaLocation="http://www.springframework.org/schema/beans


               http://www.springframework.org/schema/beans/spring-beans.xsd">


            <bean id="date1" class="java.util.Date"></bean>


            <bean id="mouse1" class="com.dola.bean.Mouse">


                <property name="name" value="Jerry1"></property>


                <property name="birthday" ref="date1"></property>


            </bean>


        </beans>
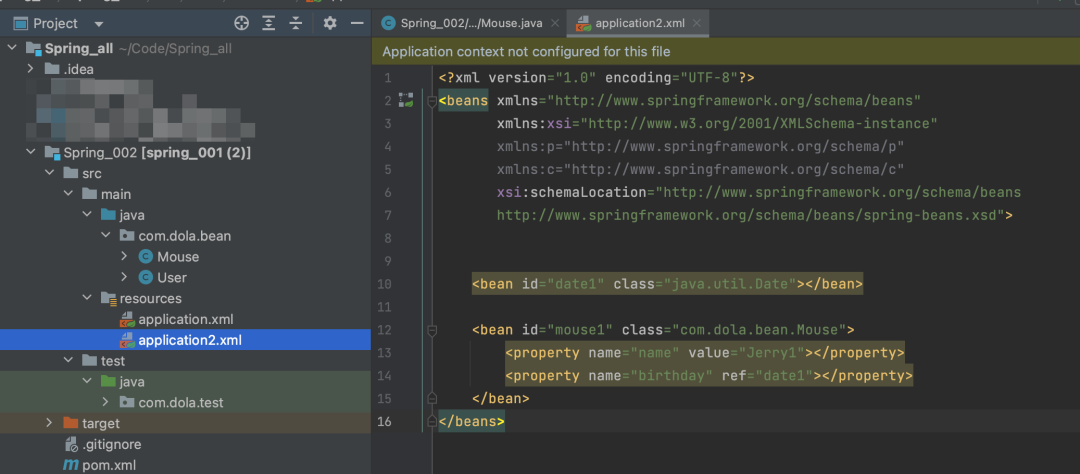
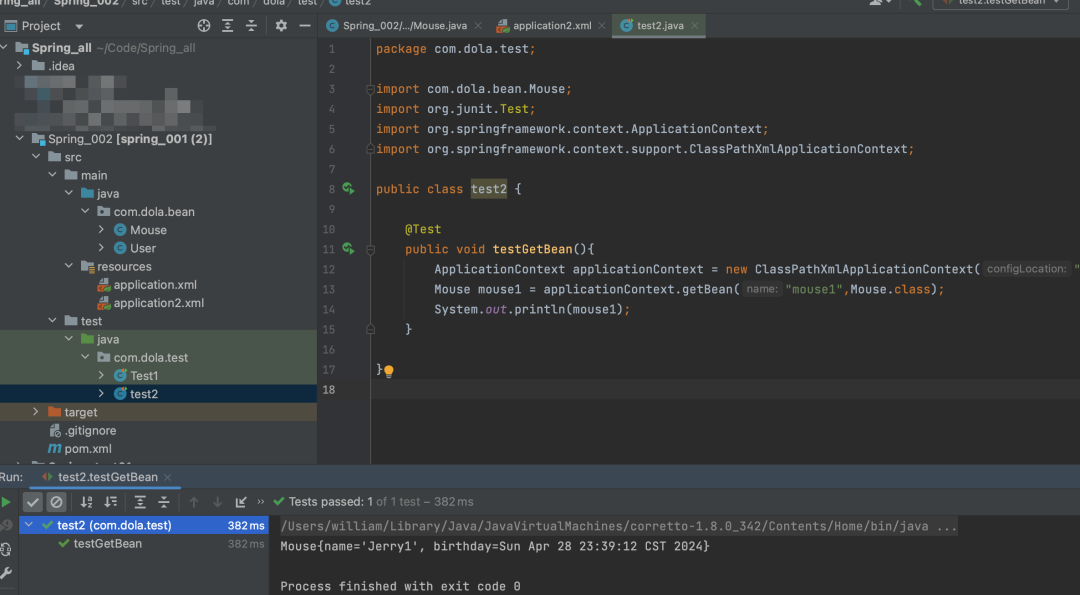
很明显,这个跟刚才的差异就是引用对象时候,value变成了ref,紧接着,来获取这个容器里的对象看看
        package com.dola.test;


        import com.dola.bean.Mouse;


        import org.junit.Test;


        import org.springframework.context.ApplicationContext;


        import org.springframework.context.support.ClassPathXmlApplicationContext;


        public class test2 {


            @Test


            public void testGetBean(){


                ApplicationContext applicationContext = new ClassPathXmlApplicationContext("application2.xml");


                Mouse mouse1 = applicationContext.getBean("mouse1",Mouse.class);


                System.out.println(mouse1);


            }


        }
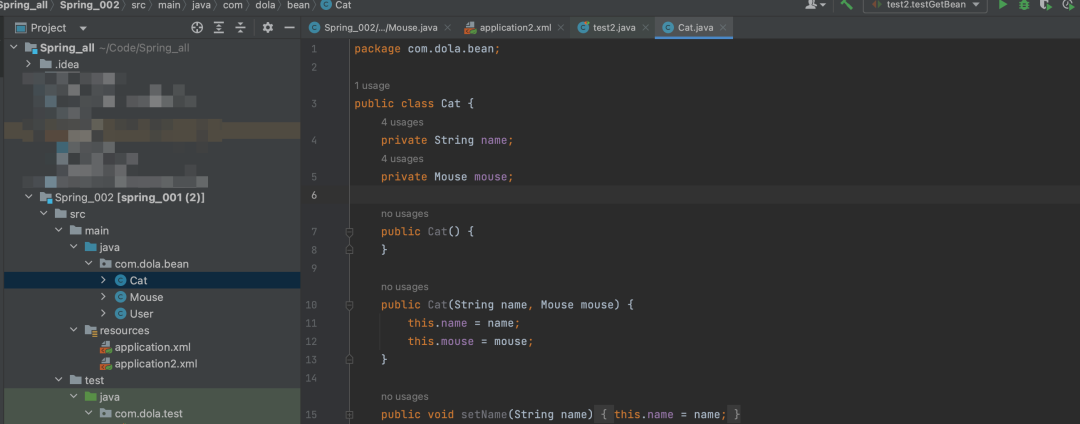
什么?不过瘾?那搞一只猫吧,让猫拿住这个老鼠(建立对象之间的依赖关系)
package com.dola.bean;
public class Cat {
private String name;
private Mouse mouse;
public Cat() {
}
public Cat(String name, Mouse mouse) {
this.name = name;
this.mouse = mouse;
}
public void setName(String name) {
this.name = name;
}
public void setMouse(Mouse mouse) {
this.mouse = mouse;
}
public String getName() {
return name;
}
public Mouse getMouse() {
return mouse;
}
public String toString() {
return "Cat{" +
"name='" + name + '\'' +
", mouse=" + mouse +
'}';
}
}
修改配置文件
        <?xml version="1.0" encoding="UTF-8"?>


        <beans xmlns="http://www.springframework.org/schema/beans"


               xmlns:xsi="http://www.w3.org/2001/XMLSchema-instance"


               xmlns:p="http://www.springframework.org/schema/p"


               xmlns:c="http://www.springframework.org/schema/c"


               xsi:schemaLocation="http://www.springframework.org/schema/beans


               http://www.springframework.org/schema/beans/spring-beans.xsd">


            <bean id="date1" class="java.util.Date"></bean>


            <bean id="mouse1" class="com.dola.bean.Mouse">


                <property name="name" value="Jerry1"></property>


                <property name="birthday" ref="date1"></property>


            </bean>


            <bean id="cat1" class="com.dola.bean.Cat">


                <property name="name" value="Tom"></property>


                <property name="mouse" ref="mouse1"></property>


            </bean>


        </beans>
然后再修改获取容器的代码
        package com.dola.test;


        import com.dola.bean.Mouse;


        import com.dola.bean.Cat;


        import org.junit.Test;


        import org.springframework.context.ApplicationContext;


        import org.springframework.context.support.ClassPathXmlApplicationContext;


        public class test2 {


            @Test


            public void testGetBean(){


                ApplicationContext applicationContext = new ClassPathXmlApplicationContext("application2.xml");


                Mouse mouse1 = applicationContext.getBean("mouse1",Mouse.class);


                System.out.println(mouse1);


                Cat cat = applicationContext.getBean("cat1",Cat.class);


                System.out.println(cat);


            }


        }
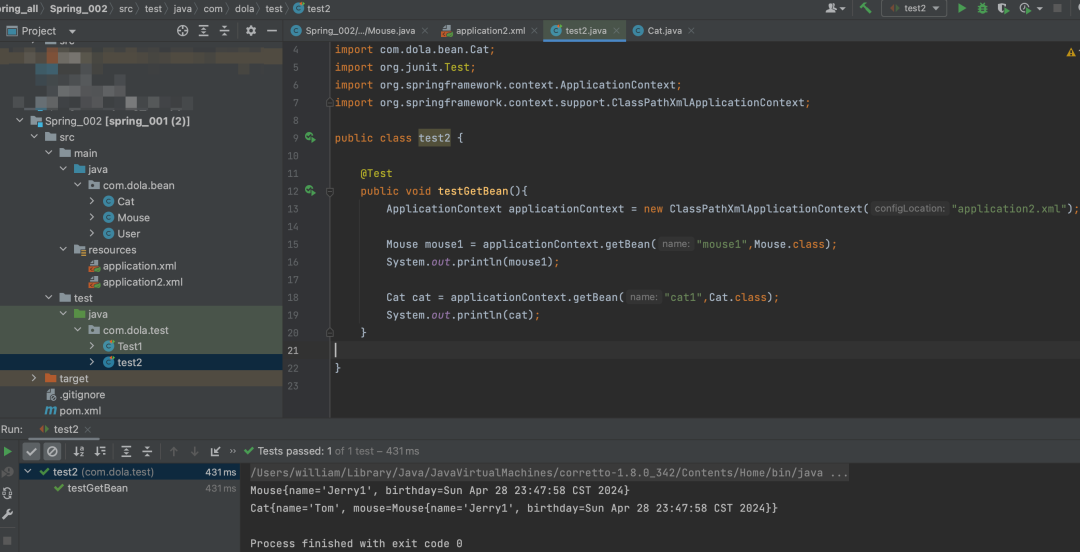
完成,这样搞下来是不是还蛮好理解的
(不能拖延,4月29夜里写的,想着看还需要改不,结果一直没动,然后就发了
)

