SpringCloud OpenFeign + Nacos正确打开方式!
共 6823字,需浏览 14分钟
· 2022-03-23

作者 | 磊哥
来源 | Java中文社群(ID:javacn666)
转载请联系授权(微信ID:GG_Stone)
Nacos 支持两种 HTTP 服务请求,一个是 REST Template,另一个是 Feign Client。之前的文章咱们介绍过 Rest Template 的调用方式,主要是通过 Ribbon(负载均衡) + RestTemplate 实现 HTTP 服务调用的,请求的核心代码是这样的:
@RestController
public class ConsumerController {
    @Resource
    private RestTemplate restTemplate;
    @GetMapping("/consumer")
    public String consumer(@RequestParam String name) {
        // 请求并获取结果(springcloud-nacos-provider 是 nacos 中的服务id)
        String result = restTemplate.getForObject("http://springcloud-nacos-provider/call/" + name, String.class);
        return result;
    }
}
从上述的实现代码我们可以看出一个问题,虽然以上代码可以实现 HTTP 服务调用,但需要开发者手动拼接调用地址和参数,并且远程服务调用和客户端自身的业务逻辑实现是混合在一起,不利于后期的维护与扩展,那如何要解决这个问题呢?这就是我们今天要介绍的 OpenFeign 的原因了。
OpenFeign 介绍
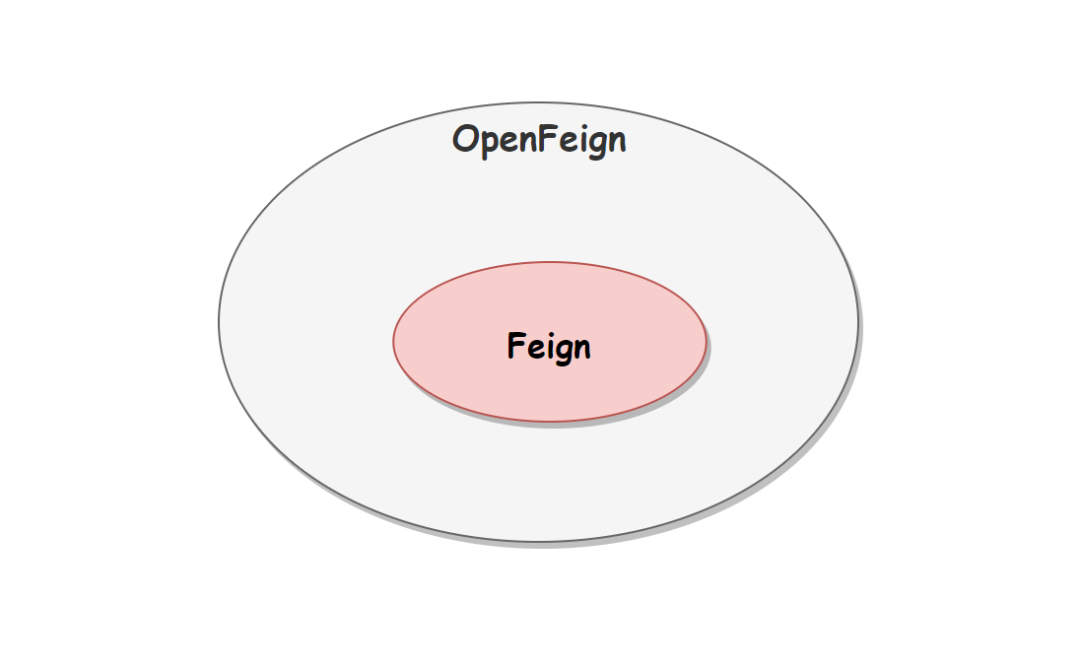
OpenFeign 的全称是 Spring Cloud OpenFeign,它是 Spring 官方推出的一种声明式服务调用和负载均衡组件。它的出现就是为了替代已经进入停更维护状态的 Feign(Netflix Feign)的。也就是说 OpenFeign(Spring Cloud OpenFeign)是 Feign 的升级版,它们的关系如下图所示: 因为 Feign 停更维护了,所以 Spring 官方需要推出了一个新的新的框架来对 Feign 功能进行升级和扩展。
OpenFeign 常用注解
OpenFeign 声明式服务调用和负载均衡组件,因此它的核心是使用注解 + 接口的方式实现服务调用,所以了解 OpenFeign 的注解就至关重要了。对于 Feign 框架来说,它只支持 Feign 注解和 JAX-RS 注解,但 OpenFeign 在 Feign 的基础上还增加了对 Spring MVC 注解的支持,例如 @RequestMapping、@GetMapping 和 @PostMapping 等注解。OpenFeign 常用注解有以下几个:
- @EnableFeignClients:该注解用于开启 OpenFeign 功能,当 Spring Cloud 应用启动时,OpenFeign 会扫描标有 @FeignClient 注解的接口,生成代理并注册到 Spring 容器中。
- @FeignClient:该注解用于通知 OpenFeign 组件对 @RequestMapping 注解下的接口进行解析,并通过动态代理的方式产生实现类,实现负载均衡和服务调用。
- @RequestMapping:向服务提供者发起 Request 请求(默认为 GET 方式请求),这里需要注意 @RequestMapping/@GetMapping/@PostMapping 和 Spring MVC 中的同名注解的含义是完全不同的。
- @GetMapping:向服务提供者发起 GET 请求。
- @PostMapping:向服务提供者发起 POST 请求。
OpenFeign 使用
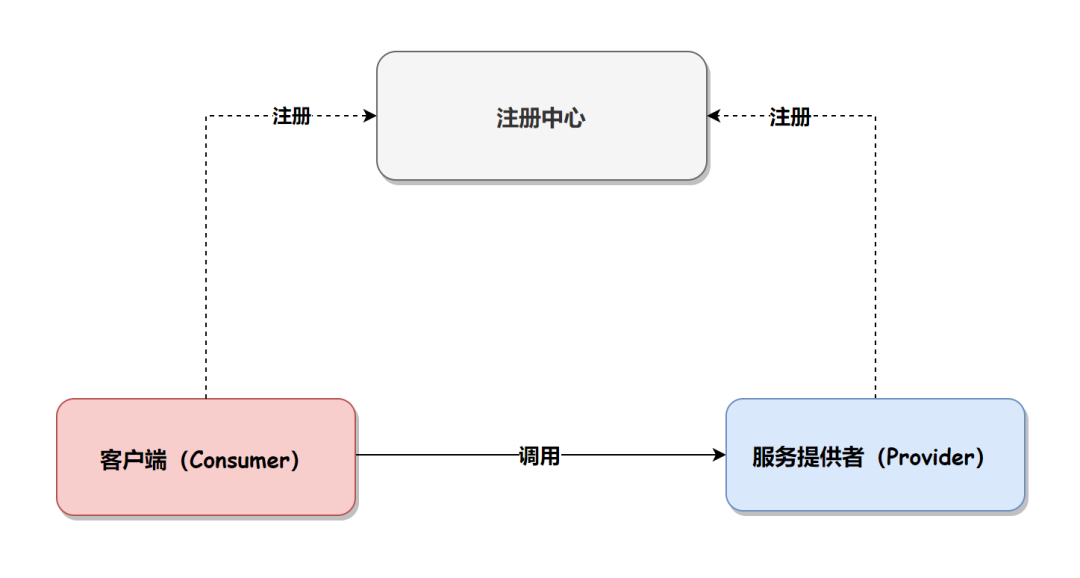
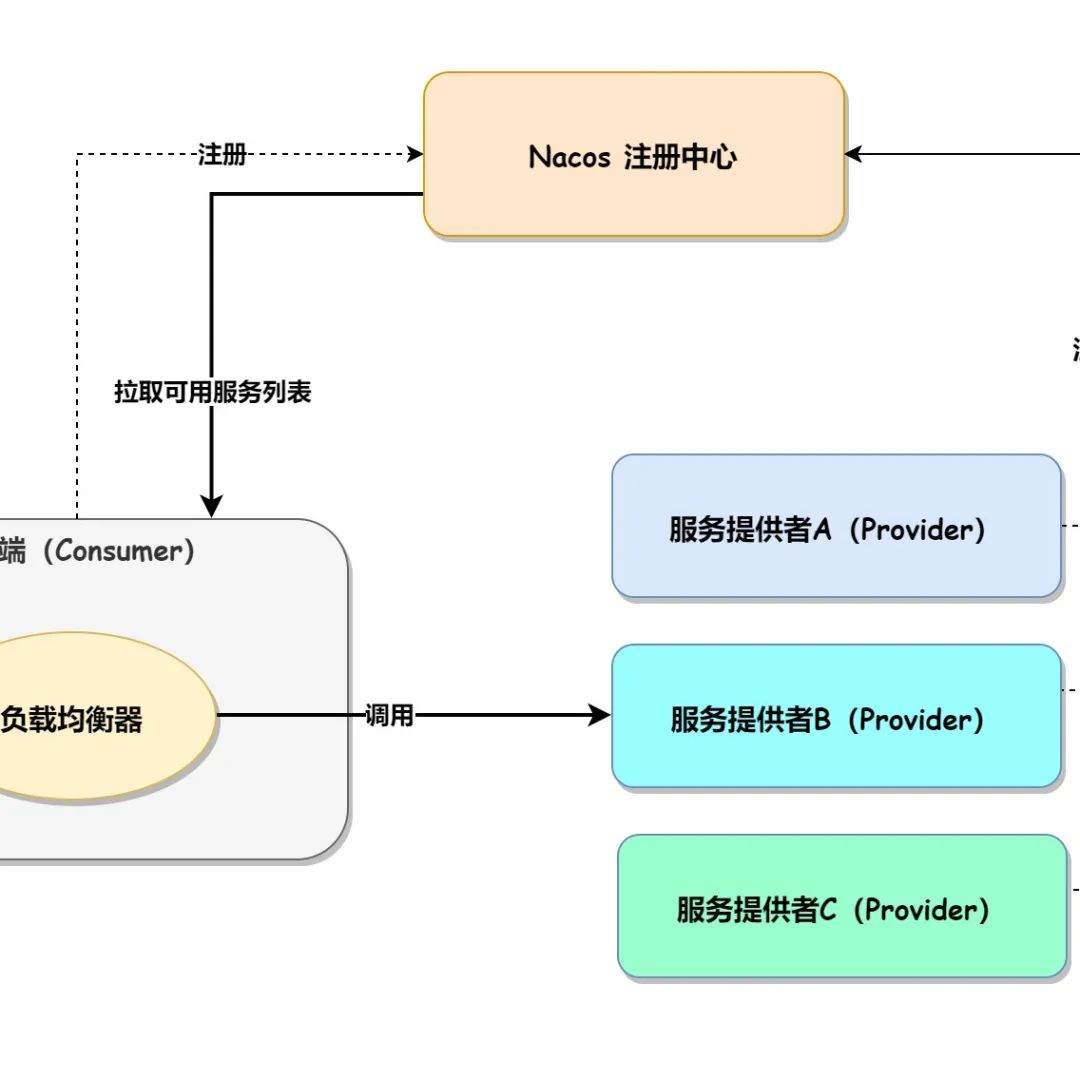
OpenFeign 是用在服务消费端的,有消费端就得有服务提供端,它们的关系如下图所示: 所以我们先要创建一个服务提供者 Provider,创建步骤如下。
创建服务提供者
第一步:先创建一个 Spring Boot 项目(Spring Cloud 项目是基于 Spring Boot 创建的),添加 spring-web 和 nacos-discovery 依赖,具体依赖信息如下:
<dependency>
  <groupId>org.springframework.bootgroupId>
  <artifactId>spring-boot-starter-webartifactId>
dependency>

<dependency>
  <groupId>com.alibaba.cloudgroupId>
  <artifactId>spring-cloud-starter-alibaba-nacos-discoveryartifactId>
dependency>
第二步:设置 Nacos 相关配置,在 application.yml 中添加以下配置:
spring:
  application:
    name: springcloud-nacos-provider # 项目名称(nacos 注册的服务名)
  cloud:
    nacos:
      discovery:
        username: nacos # nacos 登录用户名
        password: nacos666 # nacos 密码
        server-addr: 127.0.0.1:8848 # nacos 服务端地址
server:
  port: 8081 # 项目启动端口号
第三步:添加服务方法,如下代码所示:
import org.springframework.boot.SpringApplication;
import org.springframework.boot.autoconfigure.SpringBootApplication;
import org.springframework.web.bind.annotation.PathVariable;
import org.springframework.web.bind.annotation.RequestMapping;
import org.springframework.web.bind.annotation.RestController;

@SpringBootApplication
@RestController
public class HttpProviderApplication {

    public static void main(String[] args) {
        SpringApplication.run(HttpProviderApplication.class, args);
    }

    /**
     * 为客户端提供可调用的接口
     */
    @RequestMapping("/call/{name}")
    public String call(@PathVariable String name) {
        return LocalTime.now() + "——服务提供者1:" + name;
    }
}
创建服务消费者
第一步:创建一个 Spring Boot 项目,添加 spring-web、nacos-discovery 和 openfeign 依赖,具体依赖内容如下:
<dependency>
    <groupId>org.springframework.bootgroupId>
    <artifactId>spring-boot-starter-webartifactId>
dependency>

<dependency>
    <groupId>com.alibaba.cloudgroupId>
    <artifactId>spring-cloud-starter-alibaba-nacos-discoveryartifactId>
dependency>

<dependency>
    <groupId>org.springframework.cloudgroupId>
    <artifactId>spring-cloud-starter-openfeignartifactId>
dependency>
第二步:设置 Nacos 相关配置,在 application.yml 中添加以下配置:
spring:
  application:
    name: springcloud-nacos-consumer # 项目名称(nacos 注册的服务名)
  cloud:
    nacos:
      discovery:
        username: nacos # nacos 登录用户名
        password: nacos666 # nacos 密码
        server-addr: 127.0.0.1:8848 # nacos 服务端地址
server:
  port: 8093 # 项目启动端口号
第三步:在 Spring Boot 项目的启动文件上添加 @EnableFeignClients 注解,开启 OpenFeign,具体实现代码如下:
import org.springframework.boot.SpringApplication;
import org.springframework.boot.autoconfigure.SpringBootApplication;
import org.springframework.cloud.openfeign.EnableFeignClients;

@SpringBootApplication
@EnableFeignClients // 启用 OpenFeign
public class OpenfeignConsumerApplication {
    public static void main(String[] args) {
        SpringApplication.run(OpenfeignConsumerApplication.class, args);
    }
}
第四步:最重要的一步,创建 OpenFeign 与服务提供者的调用接口,实现代码如下:
import org.springframework.cloud.openfeign.FeignClient;
import org.springframework.web.bind.annotation.GetMapping;
import org.springframework.web.bind.annotation.PathVariable;

@FeignClient("springcloud-nacos-provider") // nacos 服务 id
public interface SpringCloudNacosProviderClient {
    @GetMapping("/call/{name}") // 使用 get 方式,调用服务提供者的 /call/{name} 接口
    public String call(@PathVariable(value = "name") String name);
}
第五步:编写服务调用者代码,经过了上一步对服务提供者的封装之后,在控制器中我们可以像调用本地方法一样调用远程接口了,具体实现代码如下:
import com.example.openfeignconsumer.feignclient.SpringCloudNacosProviderClient;
import org.springframework.web.bind.annotation.GetMapping;
import org.springframework.web.bind.annotation.RequestParam;
import org.springframework.web.bind.annotation.RestController;
import javax.annotation.Resource;

@RestController
public class ConsumerController {
    @Resource
    private SpringCloudNacosProviderClient providerClient; // 加载 openfeign client

    @GetMapping("/consumer")
    public String consumer(@RequestParam String name) {
        // 向调用本地方法一样,调用 openfeign client 中的方法
        return providerClient.call(name);
    }
}
然后分别启动服务提供者和服务调用者程序,执行结果如下图所示:
注意事项
OpenFeign 默认的接口超时时间为 1s,所以如果接口的执行时间超过 1s,那么程序调用就会报错。接下来,我们编写程序测试一下,将服务提供者的代码休眠 2s,具体实现代码如下:
import org.springframework.boot.SpringApplication;
import org.springframework.boot.autoconfigure.SpringBootApplication;
import org.springframework.web.bind.annotation.PathVariable;
import org.springframework.web.bind.annotation.RequestMapping;
import org.springframework.web.bind.annotation.RestController;

import java.time.LocalTime;
import java.util.concurrent.TimeUnit;

@SpringBootApplication
@RestController
public class HttpProviderApplication {

    public static void main(String[] args) {
        SpringApplication.run(HttpProviderApplication.class, args);
    }

    /**
     * 为客户端提供可调用的接口
     */
    @RequestMapping("/call/{name}")
    public String call(@PathVariable String name) throws InterruptedException {
        // 让程序休眠 2s
        TimeUnit.SECONDS.sleep(2);
        return LocalTime.now() + "——服务提供者1:" + name;
    }
}
之后使用 OpenFeign 客户端访问服务,就会出现如下报错信息:
 解决方案:通过修改配置文件中的超时时长,也就是手动调节接口的超时时长来解决此问题,因为 1s 确实太短了,修改的配置信息如下:
ribbon:
  ReadTimeout: 5000 # 请求连接的超时时间
  ConnectionTimeout: 10000 # 请求处理的超时时间
总结
OpenFeign 是基于 Feign 实现的,是 Spring Cloud 官方提供的注解式调用 REST 接口框架,OpenFeign/Feign 底层是基于 Ribbon 实现负载均衡的。使用 OpenFeign 有三个关键步骤,首先在 Spring Boot 启动类上使用注解 @EnableFeignClients 开启 OpenFeign;第二,使用 @FeignClient + @GetMapping/@PostMapping 调用服务提供者的接口;第三,在客户端中注入 Feign Client 对象,像调用本地方法一样调用远程接口。
项目源码
https://gitee.com/mydb/spring-cloud-alibaba-example
参考 & 鸣谢
c.biancheng.net/springcloud/open-feign.html
是非审之于己,毁誉听之于人,得失安之于数。
公众号:Java中文社群
Java面试合集:https://gitee.com/mydb/interview

往期推荐


SpringCloud Nacos + Ribbon 调用服务的 2 种方法!

Spring Cloud Alibaba Nacos 的 2 种健康检查机制!

