点击上方“小白学视觉”,选择加"星标"或“置顶”
重磅干货,第一时间送达
几天前,我遇到了一个项目,要求将草图放到某个文件夹中时删除草图的白色背景。这都是在硬件扫描仪中发生的。
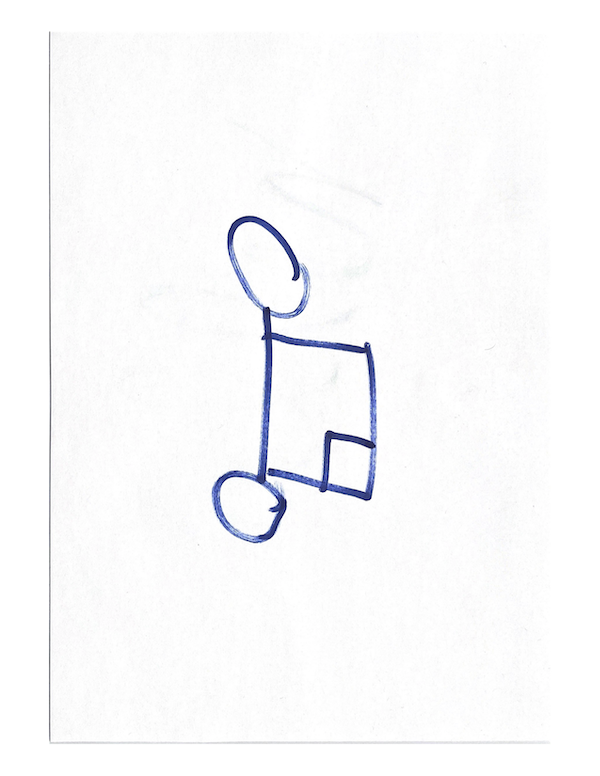
下面是一个草图示例:

第一步是安装此项目的依赖关系,具体需要内容我们将在下面列出。此外,我们还将使用Python 3.7。
opencv_python==4.1.0.25pip install opencv-pythonnumpy==1.16.4pip install numpy
之后,我们将导入项目所需的所有模块
import cv2import osimport stringimport randomfrom os import listdirfrom os.path import isfile, join, splitextimport timeimport sysimport numpy as npimport argparse
然后,我们创建三个不同的变量:要处理的文件夹的名称,图像在处理后存储的文件夹的名称,以及在监视文件夹时的轮询时间(即,它检查文件夹中更改的频率,在我们这里设置的是一秒钟)
watch_folder = ‘toprocess’processed_folder = ‘processed’poll_time = 1
文件夹“ toprocess”和“ processed”放置在和我们的python脚本的同一目录中。
然后,我们将介绍我们程序主要功能的代码,它将监视我们的“ toprocess”目录,如果没有发生任何更改,程序将处理存入在该文件夹的所有图像。
before = dict([(f, None) for f in os.listdir(watch_folder)])while 1:time.sleep(poll_time)after = dict([(f, None) for f in os.listdir(watch_folder)])added = [f for f in after if not f in before]removed = [f for f in before if not f in after]if added:print(“Added “, “, “.join(added))if added[0] is not None:processImage(added[0])if removed:print(“Removed “, “, “.join(removed))before = after
这段代码将无限循环运行,直到脚本被杀死为止。启动后,它将文件存储在名为“ before”的词典目录中。接下来,下面将分解介绍无限循环中的步骤:
睡眠指定的poll_time(1秒)。 将文件信息存储在名为after的字典目录中。 通过比较之后的IN和之前的NOT来存储已添加的内容 检查最后添加的元素(added [0])(如果存在),然后调用一个函数,我们将在文件上稍作介绍的processImage进行讨论。 如果已删除,请通过打印一些信息来让用户知道。 最后,将目录中的最新文件进行更新。
接下来介绍processImage函数,这是程序的核心。这就是OpenCV后台删除魔术发生的地方。下面的注释解释了该代码(需要基本的OpenCV知识):
def processImage(fileName):# Load in the image using the typical imread function using our watch_folder path, and the fileName passed in, then set the final output image to our current image for nowimage = cv2.imread(watch_folder + ‘/’ + fileName)output = image# Set thresholds. Here, we are using the Hue, Saturation, Value color space model. We will be using these values to decide what values to show in the ranges using a minimum and maximum value.THESE VALUES CAN BE PLAYED AROUND FOR DIFFERENT COLORShMin = 29 # Hue minimumsMin = 30 # Saturation minimumvMin = 0 # Value minimum (Also referred to as brightness)hMax = 179 # Hue maximumsMax = 255 # Saturation maximumvMax = 255 # Value maximum# Set the minimum and max HSV values to display in the output image using numpys' array function. We need the numpy array since OpenCVs' inRange function will use those.lower = np.array([hMin, sMin, vMin])upper = np.array([hMax, sMax, vMax])# Create HSV Image and threshold it into the proper range.hsv = cv2.cvtColor(image, cv2.COLOR_BGR2HSV) # Converting color space from BGR to HSVmask = cv2.inRange(hsv, lower, upper) # Create a mask based on the lower and upper range, using the new HSV image# Create the output image, using the mask created above. This will perform the removal of all unneeded colors, but will keep a black background.output = cv2.bitwise_and(image, image, mask=mask)# Add an alpha channel, and update the output image variable*_, alpha = cv2.split(output)dst = cv2.merge((output, alpha))output = dst# Resize the image to 512, 512 (This can be put into a variable for more flexibility), and update the output image variable.dim = (512, 512)output = cv2.resize(output, dim)# Generate a random file name using a mini helper function called randomString to write the image data to, and then save it in the processed_folder path, using the generated filename.file_name = randomString(5) + ‘.png’cv2.imwrite(processed_folder + ‘/’ + file_name, output)
接下来是一个非常简单的功能,可以正确地完成工作。再次强调,使用阈值可以提供更好的结果。我们需要讨论的最后一件事是mini helper函数,该函数为文件名生成随机字符串。
def randomString(length):letters = string.ascii_lowercasereturn ‘’.join(random.choice(letters) for i in range(length))
这是一个简单的功能。它使用“string”库获取字母,然后根据我们传入的长度加入随机选择的字符。传入5的长度将生成5个字符的字符串。
整个程序的处理结果如下所示:

交流群
欢迎加入公众号读者群一起和同行交流,目前有SLAM、三维视觉、传感器、自动驾驶、计算摄影、检测、分割、识别、医学影像、GAN、算法竞赛等微信群(以后会逐渐细分),请扫描下面微信号加群,备注:”昵称+学校/公司+研究方向“,例如:”张三 + 上海交大 + 视觉SLAM“。请按照格式备注,否则不予通过。添加成功后会根据研究方向邀请进入相关微信群。请勿在群内发送广告,否则会请出群,谢谢理解~


