
用这个Python库,10行代码搞定图像中目标检测
共 8112字,需浏览 17分钟
· 2021-03-09
目标检测是指计算机和软件系统对图像或场景中的目标进行定位和识别的任务。
目标检测已广泛应用于人脸检测、车辆检测、人流量统计、网络图像、安防系统和无人驾驶等多个领域。
早期目标检测的实现基于经典算法,比如流行的计算机视觉库OpenCV中支持的算法。然而,这些经典算法在不同的条件下无法获得稳定的性能。
2012年深度学习的突破性进展和迅速普及,使得R-CNN、Fast-RCNN、Faster-RCNN、RetinaNet以及快速、高度准确的SSD、YOLO等目标检测算法应运而生。
这些基于深度学习、机器学习的算法,需要一定的数学以及深度学习框架基础。有数百万的专业计算机程序员和软件开发人员想要集成和创建基于目标检测算法的新产品。同时由于理解和实际使用较为复杂,一直无法实现。如何开发出高效的目标检测代码呢?
ImageAI就应运而生了。
01
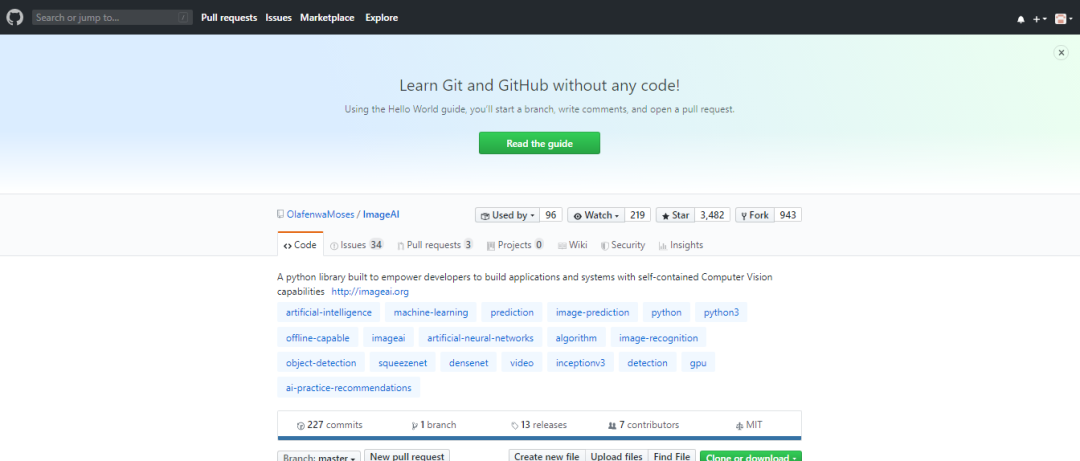
ImageAI让代码变得简洁
https://github.com/OlafenwaMoses/ImageAI
02
准备工作
-
在你的电脑上安装Python -
安装ImageAI,配置依赖环境 -
下载目标检测模块文件 -
运行样例代码(只需10行)
pip install tensorflowpip install numpypip install scipypip install opencv-pythonpip install pillowpip install matplotlibpip install h5pypip install keraspip3 install imageai --upgrade
pip install imageai-2.0.2-py3-none-any.whlhttps://github.com/OlafenwaMoses/ImageAI/releases/download/2.0.2/imageai-2.0.2-py3-none-any.whl
https://github.com/OlafenwaMoses/ImageAI/releases/download/1.0/resnet50_coco_best_v2.0.1.h5
03
开启10行代码的目标检测
from imageai.Detection import ObjectDetection
import os
execution_path = os.getcwd()
detector=ObjectDetection()
detector.setModelTypeAsRetinaNet()
detector.setModelPath( os.path.join(execution_path , "resnet50_coco_best_v2.0.1.h5"))
detector.loadModel()
detections = detector.detectObjectsFromImage(input_image=os.path.join(execution_path , "image.jpg"), output_image_path=os.path.join(execution_path , "imagenew.jpg"))
for eachObject in detections:
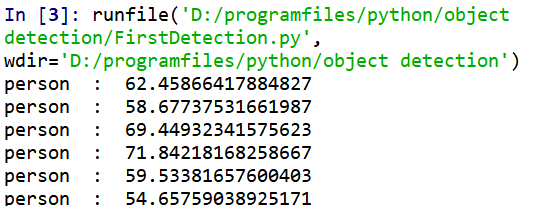
print(eachObject["name"] , " : " , eachObject["percentage_probability"] )

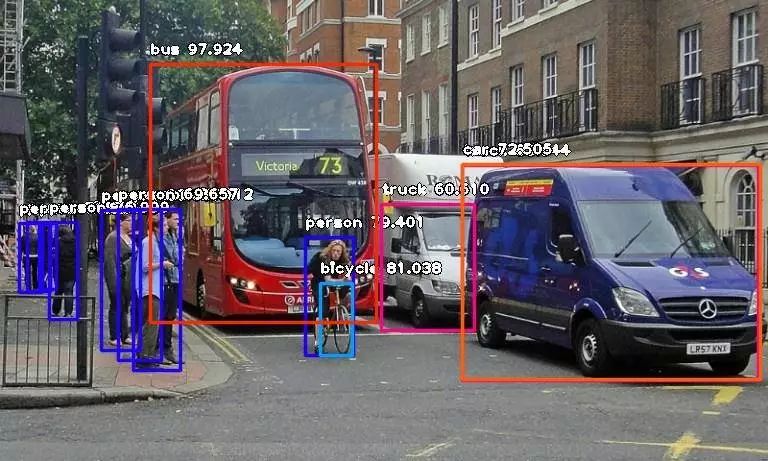
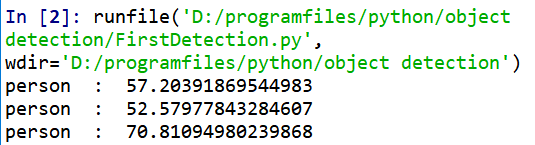
在Spyder编译器中运行结果如下所示:
from imageai.Detection

import ObjectDetectionimport

osexecution_path = os.getcwd()detector=ObjectDetection()
detector.setModelTypeAsRetinaNet()
detector.setModelPath( os.path.join(execution_path , "resnet50_coco_best_v2.0.1.h5"))
detector.loadModel()
detections = detector.detectObjectsFromImage(input_image=os.path.join(execution_path , "image.jpg"), output_image_path=os.path.join(execution_path , "imagenew.jpg"))for eachObject in detections:
print(eachObject["name"] , " : " , eachObject["percentage_probability"] )extract_detected_objects=TruedetectObjectsFromImagedetections, extracted_images = detector.detectObjectsFromImage(input_image=os.path.join(execution_path , "image.jpg"), output_image_path=os.path.join(execution_path , "imagenew.jpg"), extract_detected_objects=True)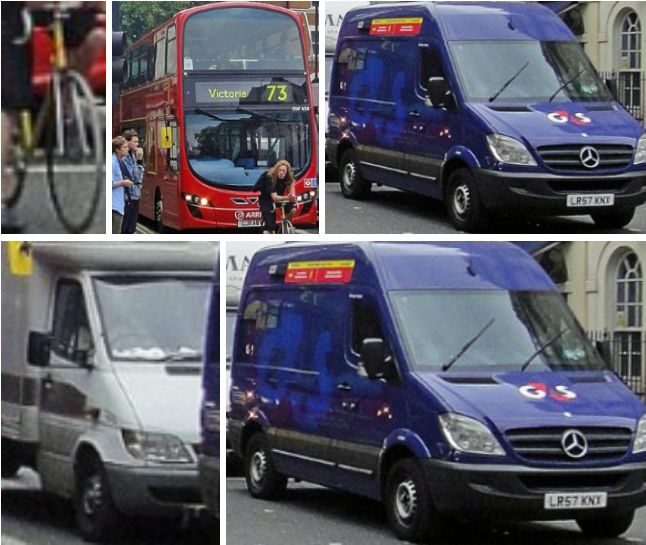
-
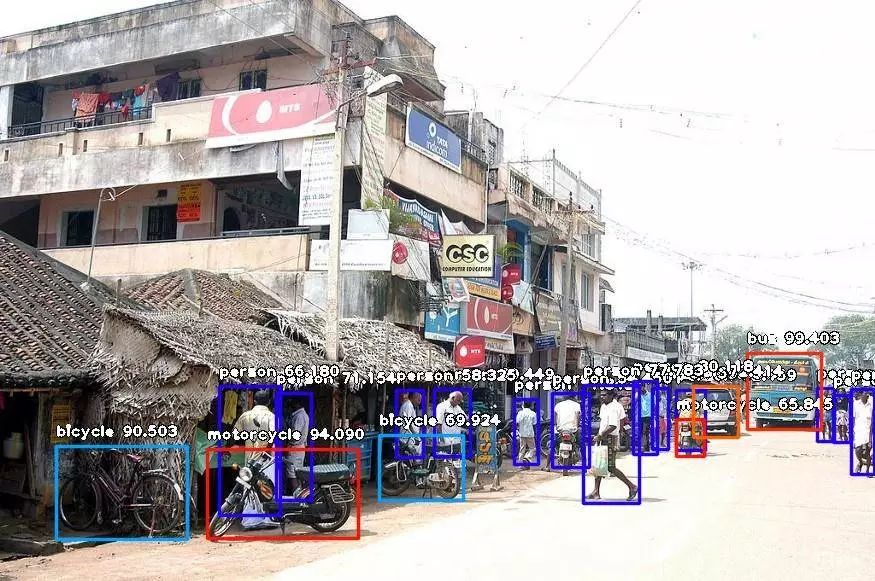
调整最小概率:默认情况下,概率小于50%的物体不会显示。对于需要高精度的情况,可以增加此值;对于需要检测所有可能对象的情况,可以减少此值。 -
自定义目标检测:通过提供的CustomObject类,可以使检测类检测一个或几个特定目标。 -
检测速度:通过将检测速度设置为“fast”、“faster”或“fastest”,可以减少检测图像所需的时间。 -
输入类型:可指定并解析图像的文件路径,以Numpy数组或图像文件流作为输入 -
输出类型:可指定detectObjectsFromImage函数以文件或Numpy数组的形式返回图像
以上便是ImageAI这个目标检测库的介绍和演示。
福利时间