 Java开发宝典


SpringBoot中starter真是个好东西,不论是官方提供,还是自定义,快速集成,真方便!
作者:拥抱心中的梦想
https://juejin.im/post/6844903923162038279
平常我们使用 SpringBoot 开发经常用到一些第三方 jar 包,而且通常只是引入一个xxx-starterjar 包就拥有了所有功能,到底其中的原理是怎样的呢?要想知道其中的原理,我们不妨先自己手动制作一个Starter,这对我们深入使用一些第三框架将会有相当大的帮助。
一、SpringBoot Starter 开发规范
SpringBoot 官网文档提到的规范大致由下面几个:
1、命名使用
spring-boot-starter-xxx, 其中xxx是我们具体的包名称,如果集成Spring Cloud则使用spring-cloud-starter-xxx2、通常需要准备两个
jar文件,其中一个不包含任何代码,只用于负责引入相关以来的 jar 文件,另外一个则包含核心的代码
如nacos与 Spring Cloud 集成的 starter 如下图:

更多Starter制作规范,我们可以查看官网文档https://docs.spring.io/spring-boot/docs/2.1.0.RELEASE/reference/htmlsingle/#boot-features-custom-starter
二、Starter 开发开发步骤
首先我们应该先明白 Springboot 加载第三方Starter的机制,详情请参考小编的另外一篇文章 SpringBoot 启动源码分析及相关技巧学习
1、新建一个
Maven工程,我们起名为study-spring-boot-starter
2、引入相关的依赖
<dependencies>
    <dependency>
    	<groupId>org.springframework.boot</groupId>
    	<artifactId>spring-boot-autoconfigure</artifactId>
    </dependency>
</dependencies>
<dependencyManagement>
    <!-- 我们是基于Springboot的应用 -->
    <dependencies>
    	<dependency>
    		<groupId>org.springframework.boot</groupId>
    		<artifactId>spring-boot-dependencies</artifactId>
    		<version>2.1.0.RELEASE</version>
    		<type>pom</type>
    		<scope>import</scope>
    	</dependency>
    </dependencies>
</dependencyManagement>
因为我们需要用到 Springboot 提供的相关注解,并且使用 springboot 提供的自动配置功能,我们不得不引入spring-boot-autoconfigure和spring-boot-dependencies两个依赖。
3、新建我们自己的自动配置类
一般来说,我们可能想在 springboot 启动的时候就预先注入自己的一些 bean,此时,我们要新建自己的自动配置类,一般采用xxxxEnableAutoConfiguration。
下面我们新建StudyStarterAutoConfiguration.java
package com.example.mystarter.config;

import org.springframework.boot.autoconfigure.condition.ConditionalOnClass;
import org.springframework.boot.autoconfigure.condition.ConditionalOnProperty;
import org.springframework.boot.autoconfigure.condition.ConditionalOnWebApplication;
import org.springframework.boot.context.properties.EnableConfigurationProperties;
import org.springframework.context.annotation.Bean;
import org.springframework.context.annotation.Configuration;

import com.example.mystarter.other.Student;

/**
 * 存放我们的配置类,用来配置我们自定义的bean的。既然是一个配置类,那么我们就需要有@Configuration进行声明
 *
 * @Author jiawei huang
 * @Since 2019年8月23日
 * @Version 1.0
 */
@Configuration
// 导入我们自定义的配置类,供当前类使用
@EnableConfigurationProperties(StudentConfigProperties.class)
// 当存在某个类时,此自动配置类才会生效,这里可以使用外部的String类名
@ConditionalOnClass(Student.class)
// 只有web应用程序时此自动配置类才会生效
@ConditionalOnWebApplication
public class StudyStarterAutoConfiguration {
    /**
     * 当存在study.config.enable=true的配置时,这个Student bean才生效
     *
     * @return
     */
    @Bean
    @ConditionalOnProperty(prefix = "study.config", name = "enable", havingValue = "true")
    public Student defaultStudent(StudentConfigProperties studyConfigProperties) {
    	Student student = new Student();
    	student.setAge(studyConfigProperties.getAge());
    	student.setName(studyConfigProperties.getName());
    	return student;
    }
}
@Configuration声明该类为一个配置类
@EnableConfigurationProperties的意思是,将括号内所指定的类注入容器成为一个 bean 对象,因为一般来说,像 springboot 默认的包扫描路径为xxxxxxApplication.java所在包以及其所有子包, 但是一些第三方的 jar 中的 bean 很明显不能被扫描到,此时该注解就派上了用场,当然,你可能会说,我使用@ComponentScan不就行了,这两个注解的区别是:@ComponentScan前提是你要的 bean 已经存在 bean 容器中了,而@EnableConfigurationProperties是要让容器自动去发现你要类并注册成为 bean。
springboot 提供了很多的@Condition开头的注解,用于表示当某某条件成立或者不成立时所做的操作。
@ConditionalOnClass指的是当存在某个类时,此自动配置类StudyStarterAutoConfiguration才会生效, 我们可能会问,我们有时候想依赖一个第三方的 bean 存在,StudyStarterAutoConfiguration才生效怎么办(比如mybatis的starter源码需要sqlsessionfactorybean一样),不用慌,@ConditionalOnClass也允许我们指定字符串全路径,例如@ConditionalOnClass("com.xxx.xxx")
@ConditionalOnWebApplication 表示当当前应用是一个 web servlet 应用时,配置类才生效。这也可以解答为什么 springboot 源码SpringApplication.java中有做应用推断。
@SuppressWarnings({ "unchecked", "rawtypes" })
public SpringApplication(ResourceLoader resourceLoader, Class<?>... primarySources) {
	this.resourceLoader = resourceLoader;
	Assert.notNull(primarySources, "PrimarySources must not be null");
	this.primarySources = new LinkedHashSet<>(Arrays.asList(primarySources));
	// 这里会去做推断
	this.webApplicationType = WebApplicationType.deduceFromClasspath();
	setInitializers((Collection) getSpringFactoriesInstances(
			ApplicationContextInitializer.class));
	setListeners((Collection) getSpringFactoriesInstances(ApplicationListener.class));
	this.mainApplicationClass = deduceMainApplicationClass();
}
4、我们新建一个
StudentConfigProperties.java,声明该 starter 的使用者可以配置哪些配置项。
package com.example.mystarter.config;

import org.springframework.boot.context.properties.ConfigurationProperties;

/**
 * 配置项
 *
 * @Author jiawei huang
 * @Since 2019年8月23日
 * @Version 1.0
 */
@ConfigurationProperties(prefix = "study.config")
public class StudentConfigProperties {
	private int age;

	private String name;

	/**
	 * @return the age
	 */
	public int getAge() {
		return age;
	}

	/**
	 * @param age the age to set
	 */
	public void setAge(int age) {
		this.age = age;
	}

	/**
	 * @return the name
	 */
	public String getName() {
		return name;
	}

	/**
	 * @param name the name to set
	 */
	public void setName(String name) {
		this.name = name;
	}

	@Override
	public String toString() {
		return "StudentConfigProperties [age=" + age + ", ]";
	}
}
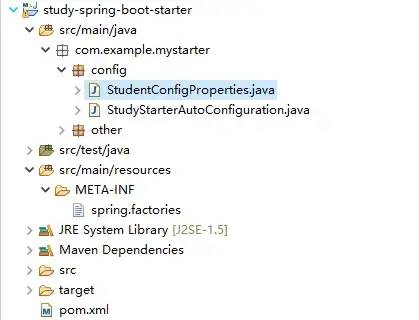
5、在
resources目录下新建一个META-INF目录并且创建一个spring.factories文件
org.springframework.boot.autoconfigure.EnableAutoConfiguration=\
 com.example.mystarter.config.StudyStarterAutoConfiguration
我们的自动配置入口类,Springboot 会扫描到这个文件,扫描机制可以查看小编写的另外一篇博文
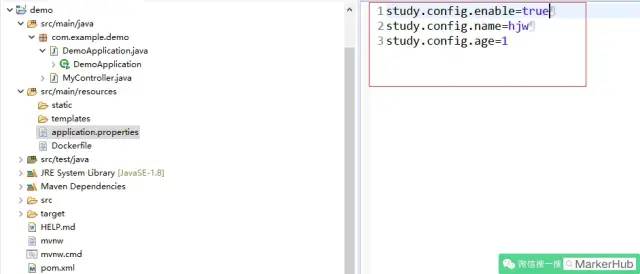
三、使用我们自己的Starter
1、我们新建另外一个 springboot 工程,引入刚刚的
starter
<dependency>
    <groupId>com.example</groupId>
    <artifactId>study</artifactId>
    <version>0.0.1-SNAPSHOT</version>
</dependency>
我们新建一个接口,来测试我们的 starter 是有有用,代码如下:
package com.example.demo;

import org.springframework.beans.factory.annotation.Autowired;
import org.springframework.web.bind.annotation.RequestMapping;
import org.springframework.web.bind.annotation.RestController;

import com.example.mystarter.config.StudentConfigProperties;
import com.example.mystarter.other.Student;

/**
 *
 * @Author jiawei huang
 * @Since 2019年8月19日
 * @Version 1.0
 */
@RestController
public class MyController {

	@Autowired
	private Student student;

	@Autowired
	private StudentConfigProperties studentConfigProperties;

	@RequestMapping("/getStudent")
	private String getStudent() {
		return "name=[" + student.getName() + "],age=[" + student.getAge() + "],studentConfigProperties=["
				+ studentConfigProperties + "]";
	}

}
启动我们的 demo 工程,然后访问我们的接口,结果如下:

好了,我们的 starter 制作到此就结束了,其实非常简单,我建议在学会制作的基础上,多看看其他框架的源码加以验证,最好能够也动手实现以下,说不定以后我们也需要提供一个 starer 给其他人用呢。有疑问,欢迎评论区交流,谢谢阅读。
END
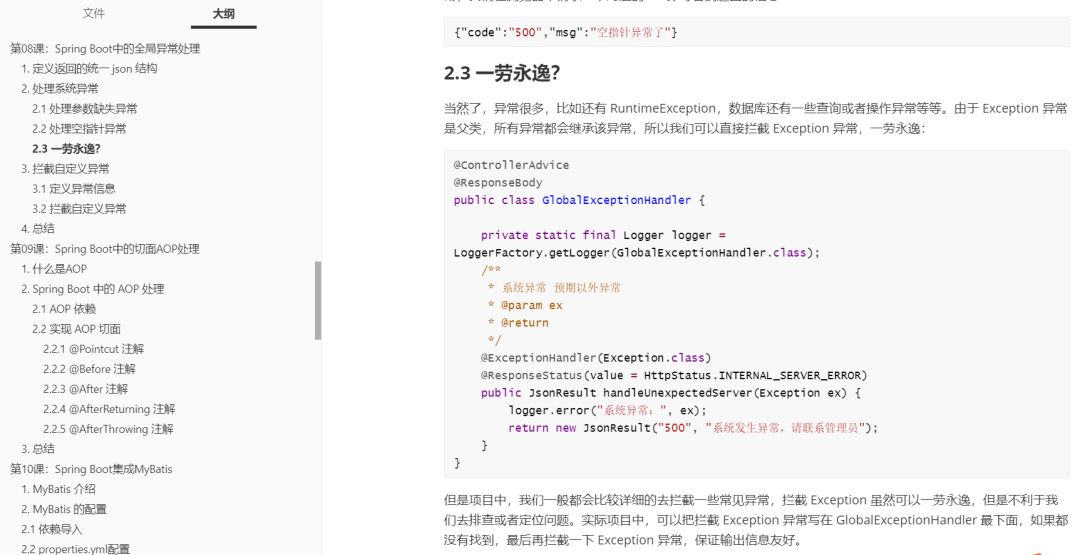
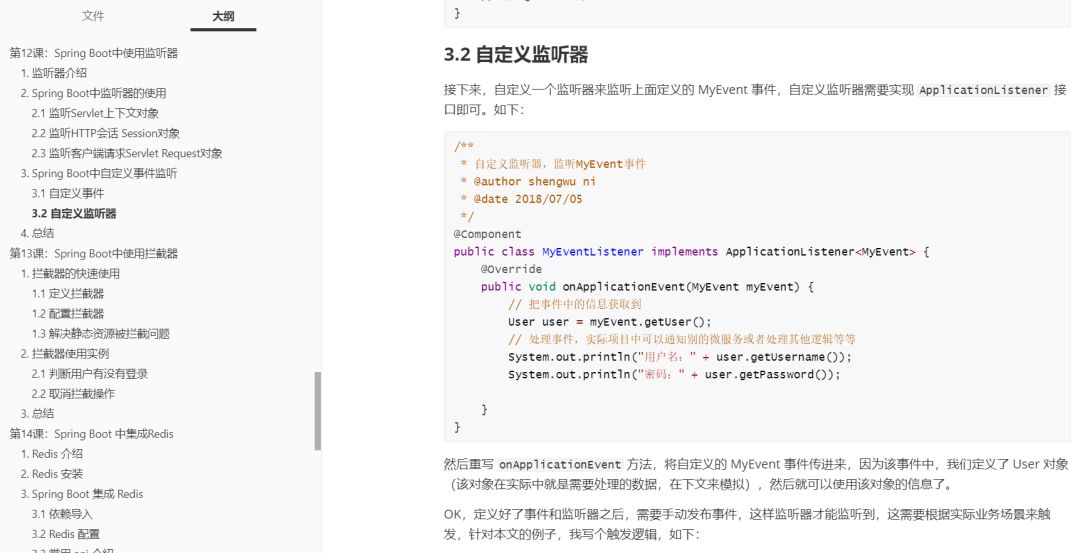
我是武哥,最后给大家免费分享我写的 10 万字 Spring Boot 学习笔记(带完整目录)以及对应的源码。这是我之前在 CSDN 开的一门课,所以笔记非常详细完整,我准备将资料分享出来给大家免费学习,相信大家看完一定会有所收获(下面有下载方式)。
可以看出,我当时备课非常详细,目录非常完整,读者可以手把手跟着笔记,结合源代码来学习。现在免费分享出来,有需要的读者可以下载学习,就在我公众号回复:笔记,就行。
关注武哥聊编程
回复:笔记
点赞是最大的支持